
AI & Auto Translation
How to setup and use glossary with AI translation
What is Glossary?
The Glossary acts as a “guide” for AI translations, prioritizing any words you add when generating translations.
Note:
The Glossary only affects future AI translations and doesn’t change existing translations immediately after creation. To update existing translations, see Updating Glossary Translations.
Use case
You created an AI translation for your product category, including your store name, like this:

When changing languages to Japanese, the brand name is also translated. However, you want the app to keep the store name unchanged.

Updating each instance manually to change it back to “Hextom Test” would be time-consuming. The Glossary makes this quicker and prevents the same issue in future translations.
If you simply want a word to never be translated, you can also use Exclude rules. See How can I exclude text from AI Translation?.
Setting up Glossary
In the app, go to Translation, then under Translation rules click Glossary. The Glossary page shows the following:
- Glossary Status - shows if Glossary is currently active or not.
- Case Sensitive - shows if the use of Case sensitive for Glossary entries is enabled or not.
- Import/Export - shows the options to export and import Glossary terms and view the import history.
- Glossary table - shows the entries created in this page, and their equivalent translation.

To begin setting it up, please follow the steps below:
- Click Add Term. Enter the base text on the left and the desired translations for different languages. For example:

- Click Save, and make sure to enable the Glossary Status.

- Afterward, you can create a new AI translation task, and it should now prioritize the Glossary entry created. For more information on how to use the AI translation, please check this guide.

Import & Export Glossary
The Glossary also supports importing and exporting terms, making it easier to manage your Glossary entries in bulk.
- Export Glossary — Downloads your current Glossary terms as a CSV file. This can also be used as a template when preparing entries for import.
- Import Glossary — Uploads glossary terms from a CSV or Excel file (.xlsx, .xls). Note that any terms not included in the imported file will be removed from the Glossary.
- View Import History — Opens a history of past imports, where you can review previous import details and revert to a previous state if needed.

Removing Glossary Entry
- To remove a Glossary entry, check the box beside it.

- After selecting a Glossary entry, click the Delete button.

- A pop-up window will appear to confirm the action. Click Confirm to update the Glossary list.


Updating Glossary Translations
Suppose you have created a Glossary entry and would like this to be applied to your existing translations. In that case, the Glossary has the functionality to update translations that have the Glossary entry included in the original text.
To access and use this in the Glossary Page:
- Check the box beside the Glossary entry you would like to apply to your existing translations.
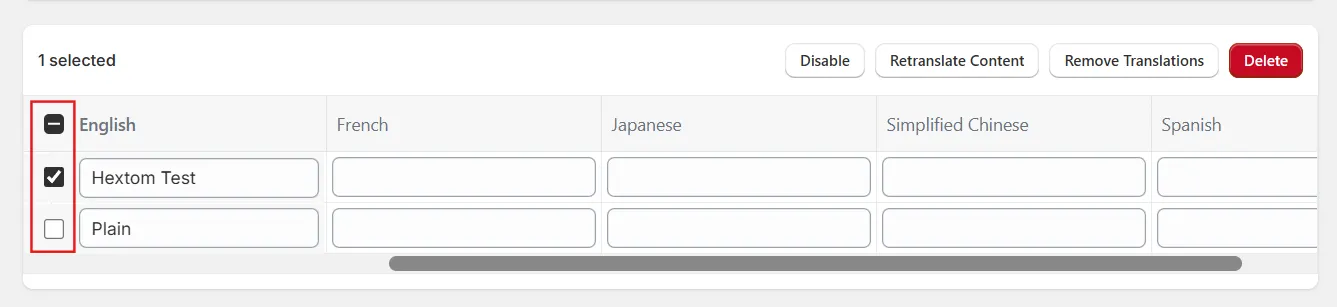
Once an entry is selected, four actions appear above the table: Disable, Retranslate Content, Remove Translations and Delete.
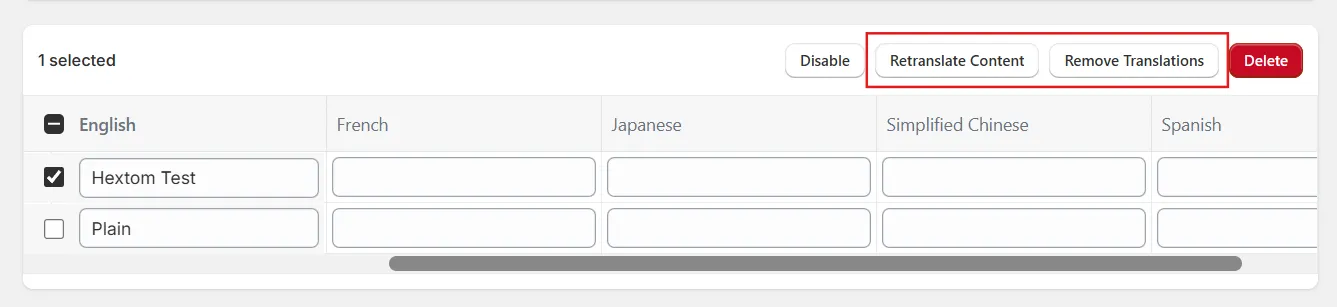
- Click Retranslate Content.
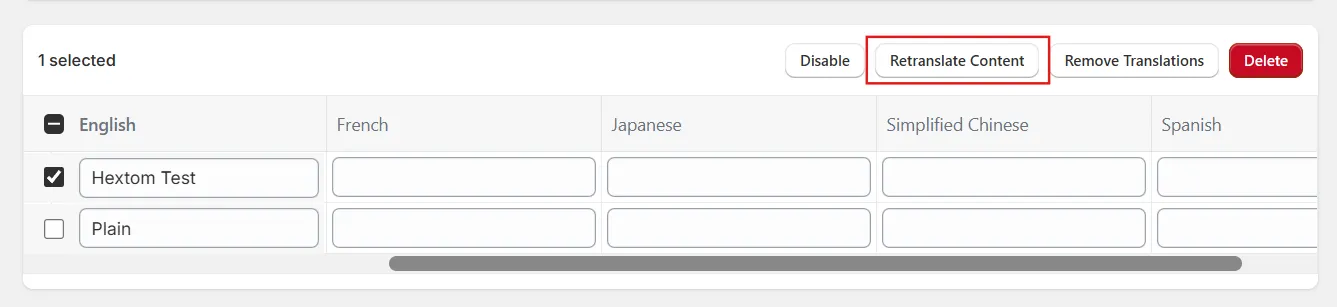
- This creates an AI task, and you will be redirected to the Tasks & Logs page.
The task type is shown as Glossary retranslate, and it will update all translations that include the Glossary entry in its text.

Removing Glossary Translations
If you have created a Glossary entry and would like all translations related to this entry removed, the Glossary also has the functionality to remove translations that have the entry.
To access and use this in the Glossary Page:
- Check the box beside the Glossary entry whose translations you would like to remove.

Once an entry is selected, four actions appear above the table: Disable, Retranslate Content, Remove Translations and Delete.

- Click Remove Translations.

- This creates an AI task, and you will be redirected to the Tasks & Logs page.
The task type is shown as Glossary remove, and it will remove all translations that include the Glossary entry in their text.

Enabling and Disabling a Glossary Term
If you have a Glossary term that you would like to temporarily stop using, you can disable it without having to delete it entirely. Disabled terms will not be used in future AI translations but can be re-enabled at any time.
Note: Enabling or disabling a term only affects future AI translations and does not update existing translations immediately.
Disabling a Glossary Term
- Select a Glossary entry by checking the box beside it. After that, click the Disable button from the action bar.

- The term will now appear greyed out in the Glossary table, and the header will reflect the updated count (e.g., “Glossary Terms (1/100, 1 disabled)”).

Enabling a Glossary Term
- Select a disabled Glossary entry by checking the box beside it. Then, click the Enable button from the action bar.

- The term will become active again and will be used in future AI translations.
If you have any concerns or issues with the Glossary, please let us know at help@hextom.com