
Features
Advanced Message Types
The Quick Announcement Bar app can display messages with customized effects, such as stackable, rotating, sliding/fading, and marquee messages, to make your announcements more noticeable.
The app can only insert one bar per page. If you’re looking to display 2 or more messages together, you can use Stackable Messages to simulate multiple bars inside one QAB bar.
Like so:

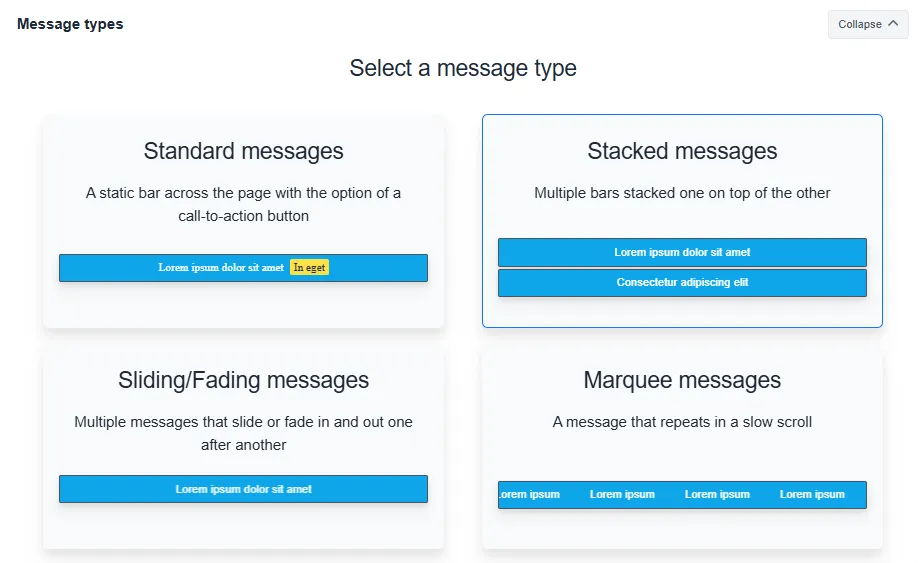
- Start by creating a new bar. You’ll be shown tiles to choose a message type. Choose Stacked messages:
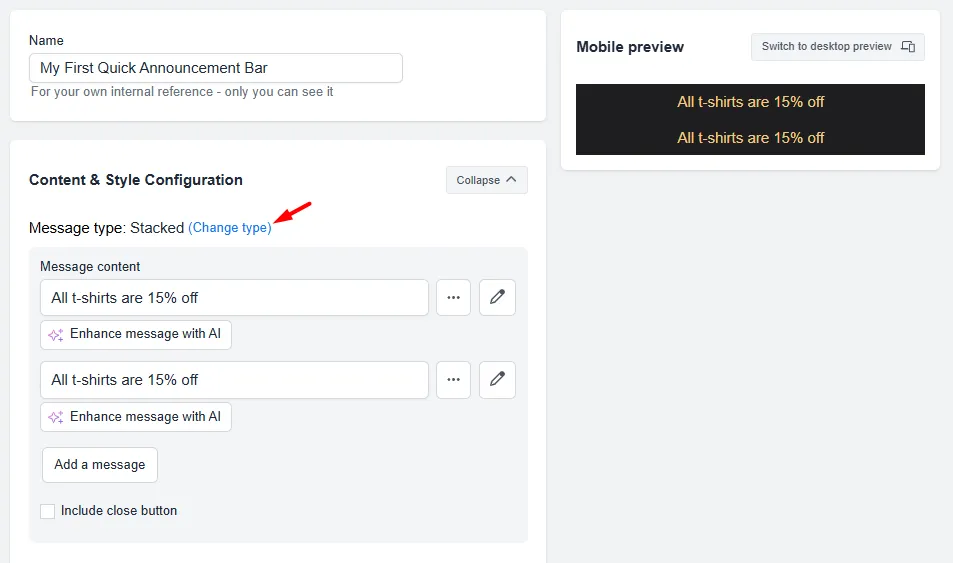
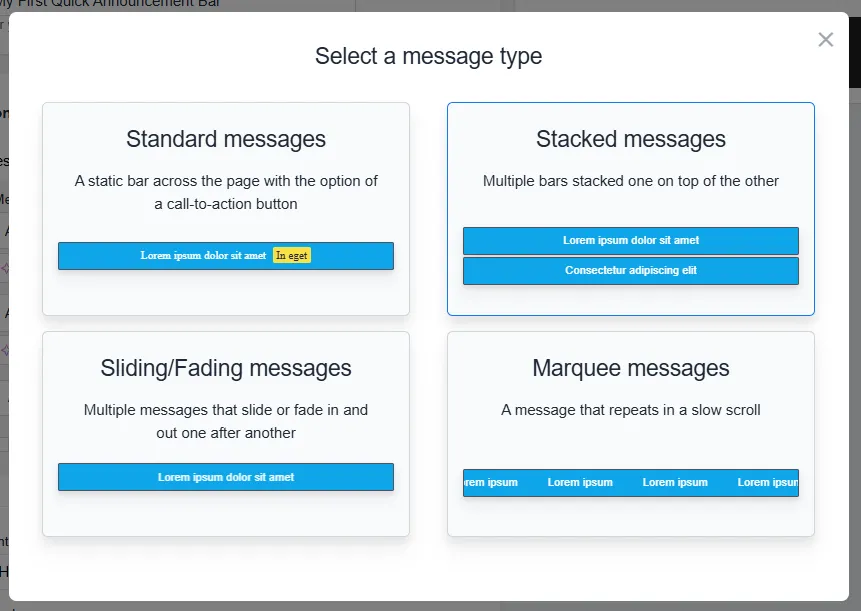
Alternatively, you may click on Change Type, and a pop-up will appear:
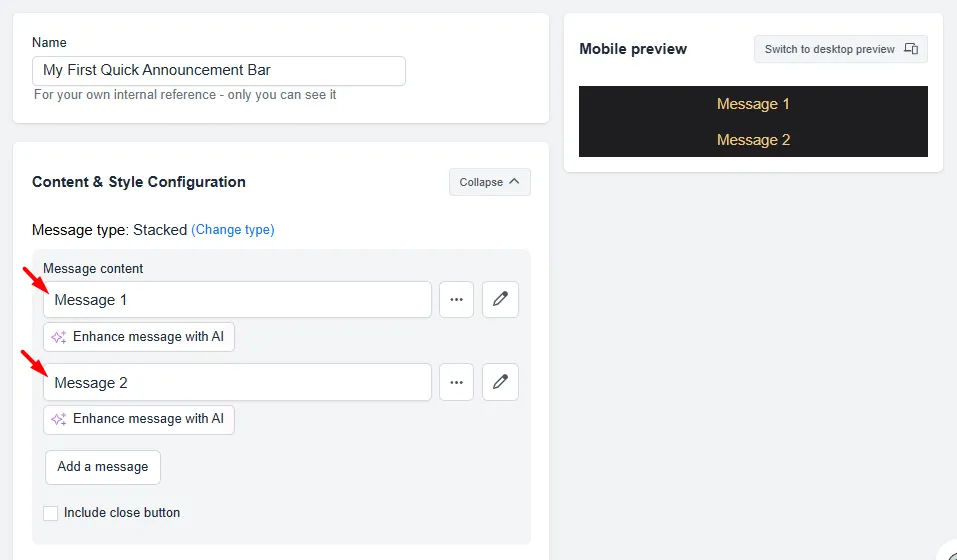
- There will be message fields that you can configure to your liking. You can also click on Add a message to add more stacks.
- Click on Save.
And that’s all there is to it. Repeat for other bars if needed.
- First, create a bar and customize it to your liking. If you have not set up a bar, you can read this guide, which will walk you through creating a bar within a few minutes.
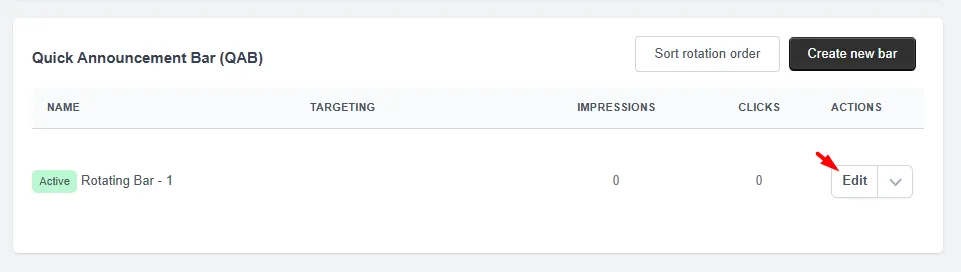
- Once you’re done creating a bar, click on Edit.
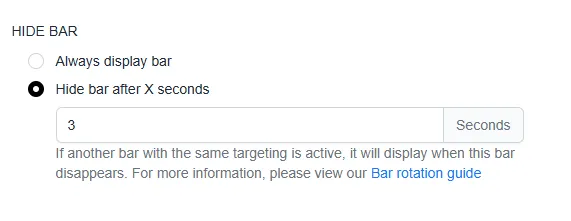
- To have a bar rotate to the next one, set the Hide bar after X seconds option to a number greater than zero — for example, 3 to rotate every 3 seconds.
- Click on Save.
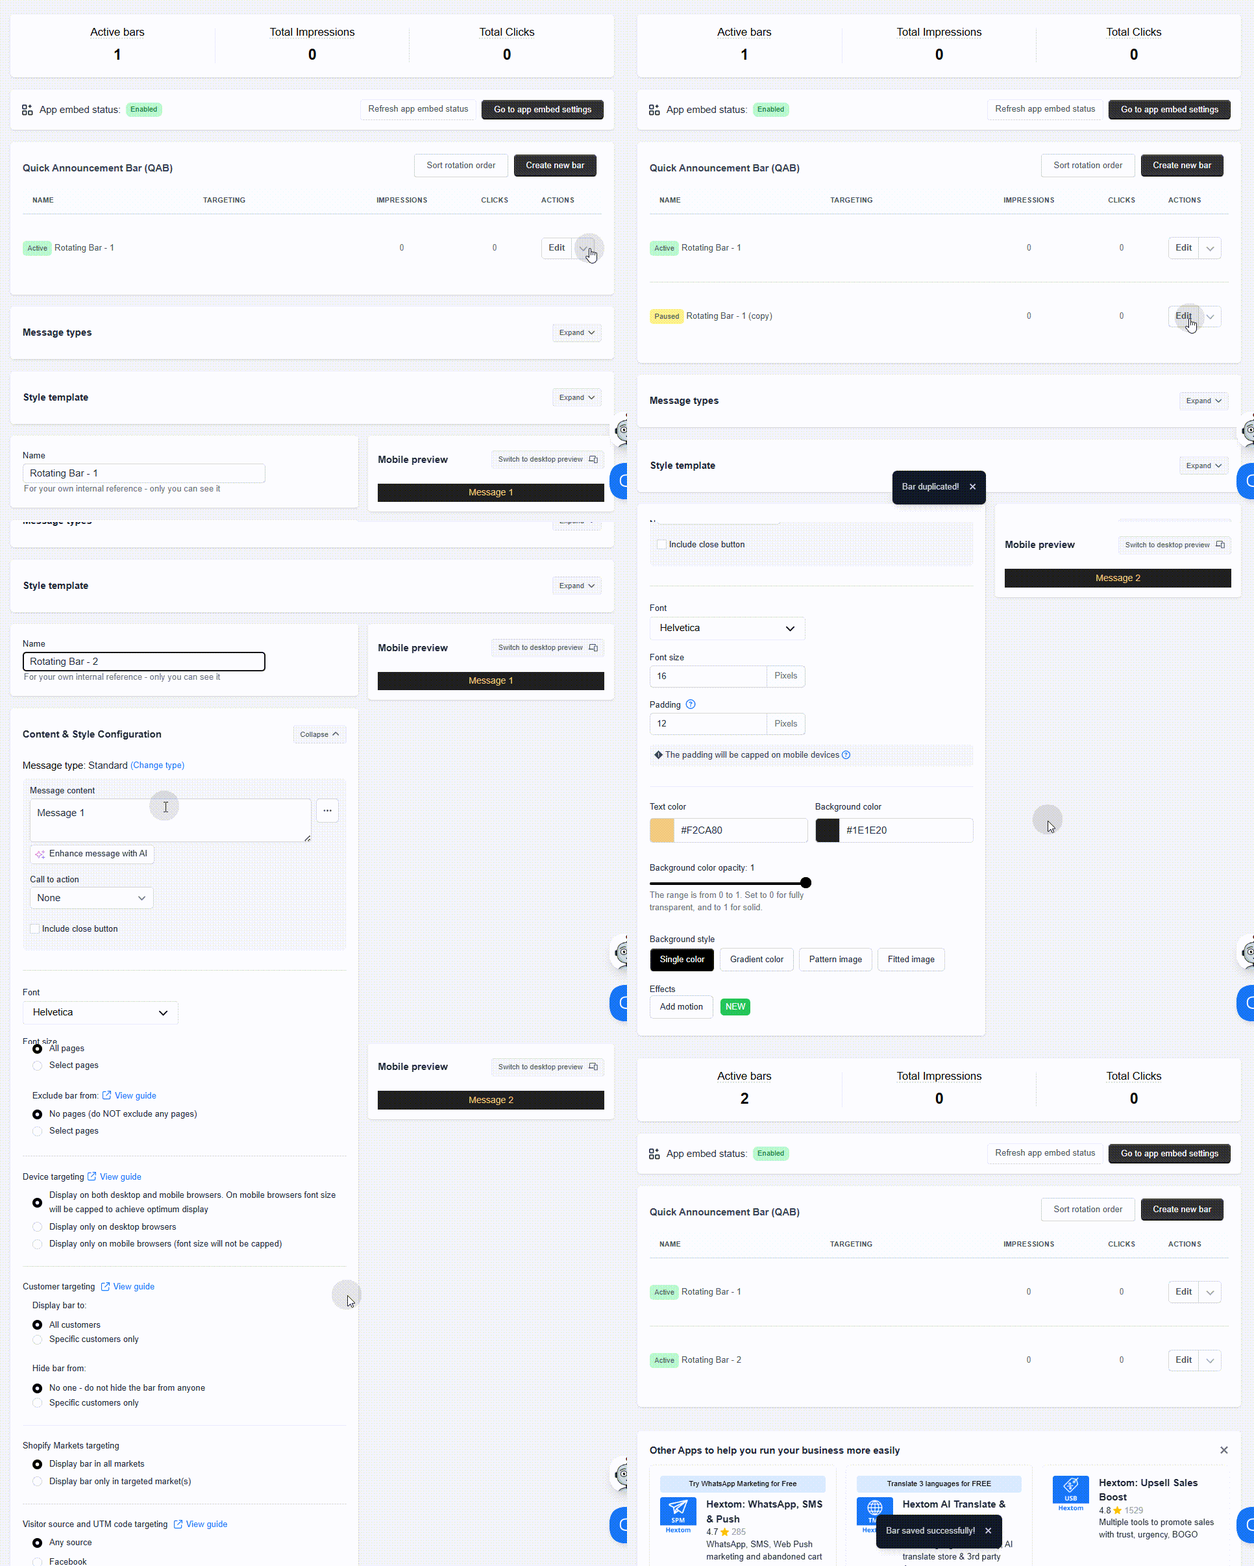
- Create another bar to add to the rotation. To keep a consistent look with the first bar, you can simply duplicate the first one and do some minor changes.
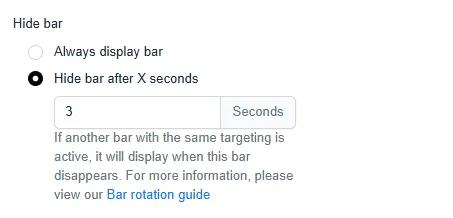
- If you’re creating a new bar from scratch, set the same Hide bar after X seconds option on this bar too:
- Click on Save. The two bars will now rotate between each other.
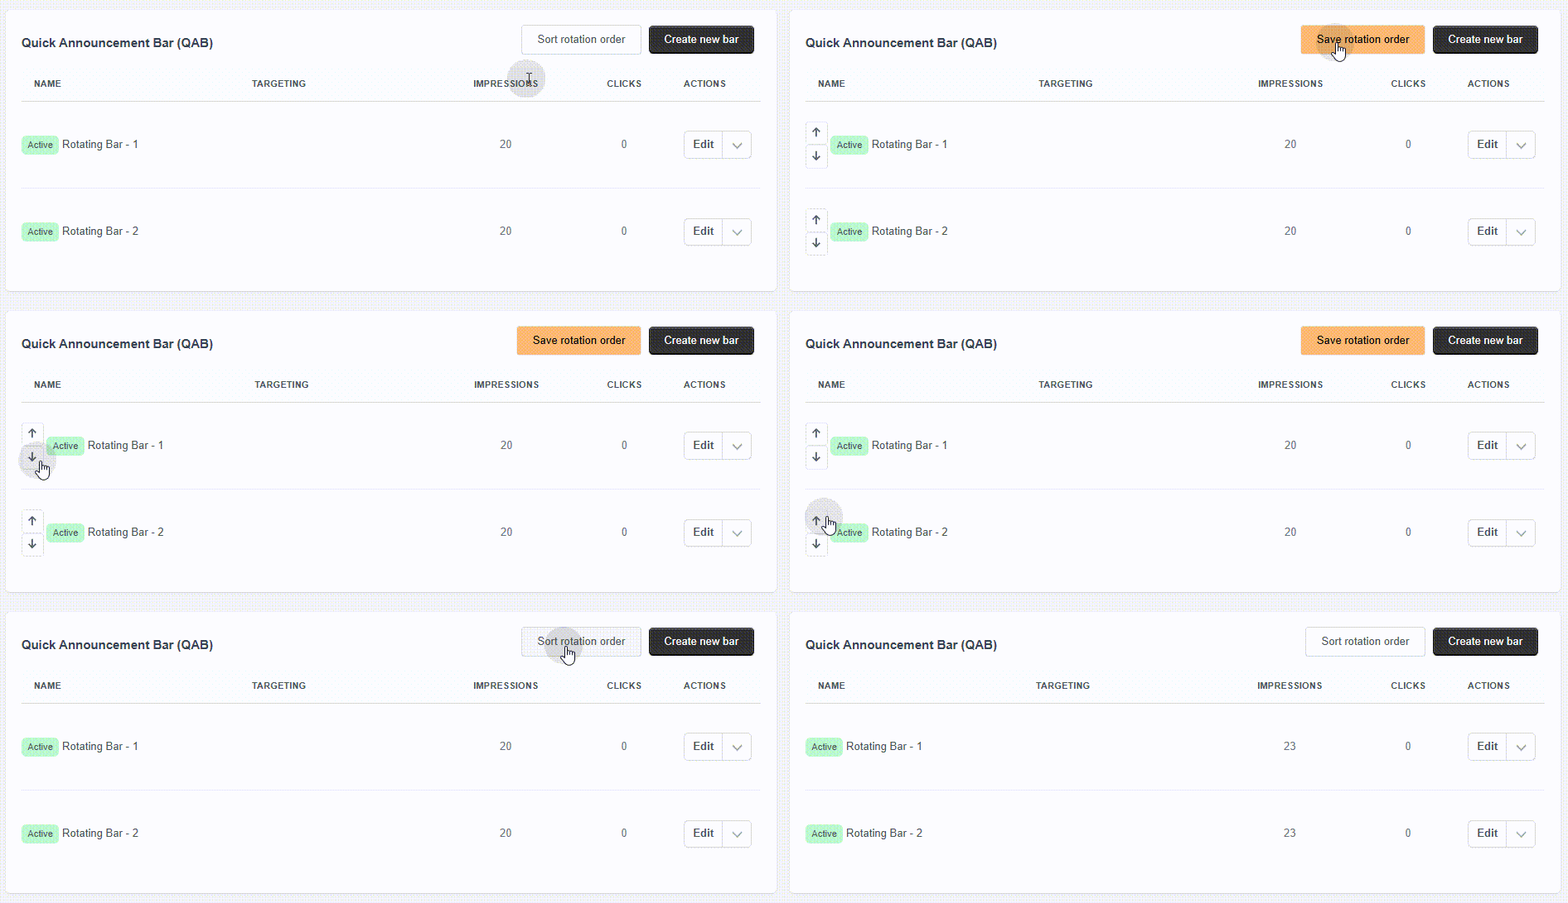
By default, the order in which the bars rotate is determined by which one was created first. To modify the order, click on Sort Rotation Order then click on the Up/Down icons depending on how you want to order the bars. Be sure to Save after setting the new order.
Follow these steps to create a bar that has messages slide in, pause, then slide out.

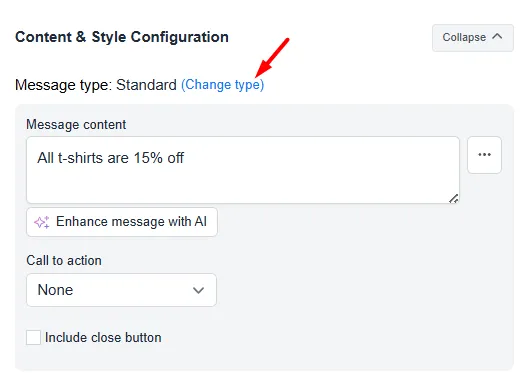
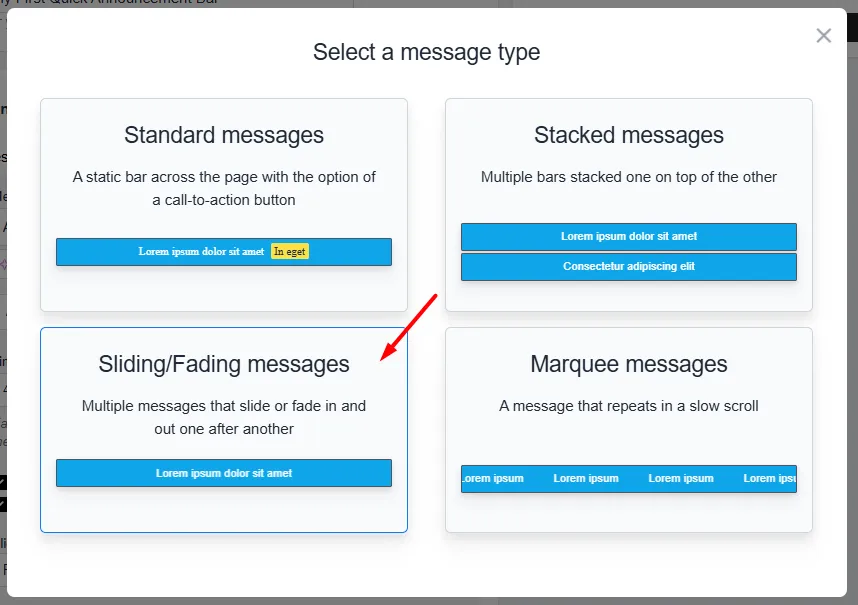
- To begin, click on Change type found above the message field. A pop-up will then appear. Click on Sliding Messages:
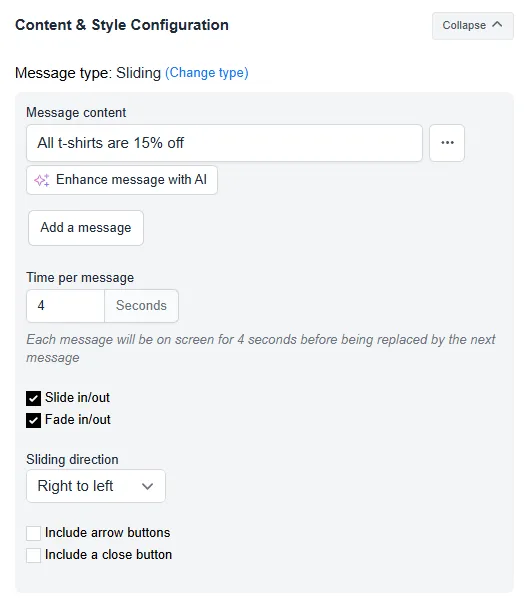
- In the following prompt, you will be able to enter the messages you wish to display (up to 5) as well as configure the time per message, sliding direction, etc.
- Click Save.
You can create a “Marquee” style scrolling message that displays a repeating message on a loop:

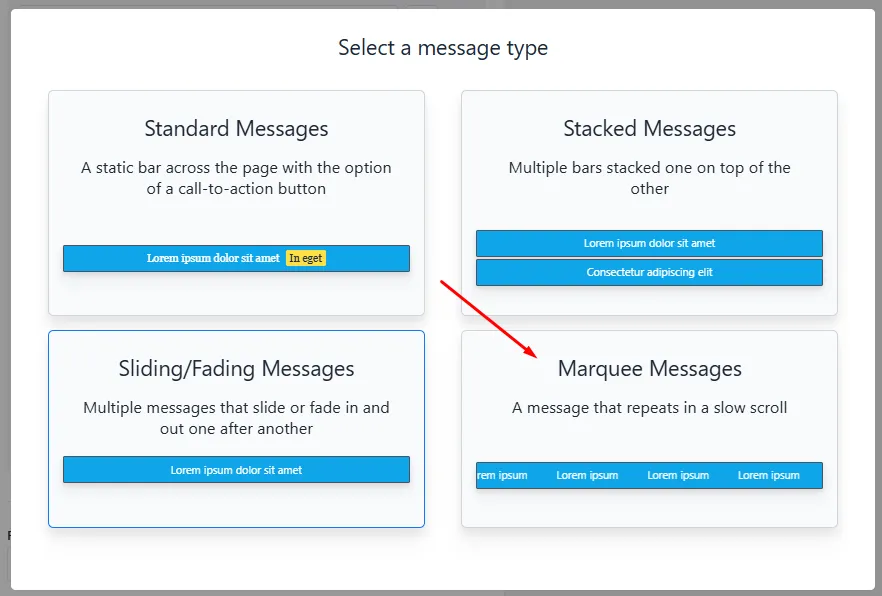
- To begin, click on Change type found above the message field. A pop-up will then appear. Click on Marquee Messages:
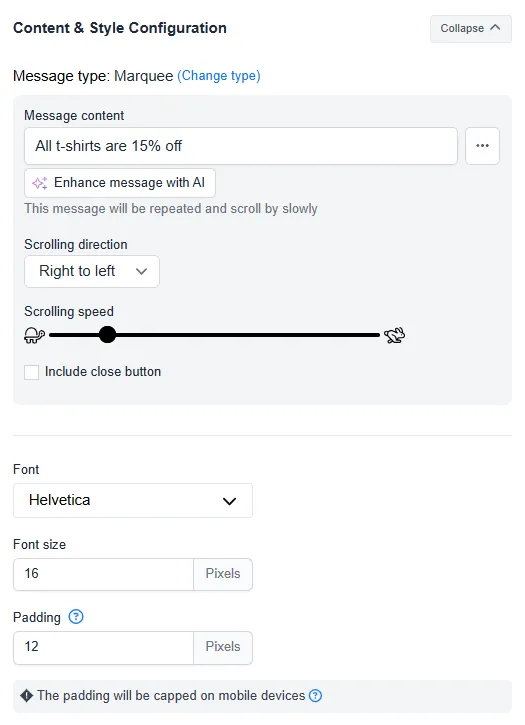
- In the following prompt, you will be able to enter the scrolling message you wish to display. In the same area you can also modify the scrolling speed and the scrolling direction.
- Click Save. You should see the message scrolling through the bar now.
If you need any assistance or have questions about this feature, feel free to reach us at help@hextom.com.