
Features
4 Types of Timers Explained
The Countdown Timer Bar app offers 4 types of timers: Standard, Daily, Interval, and Session. These timers can be powerful tools for various sales events. Let’s dive deeper and see how each type can benefit your promotions!
The Standard timer is a simple and straightforward tool that counts down to a specified date and time.
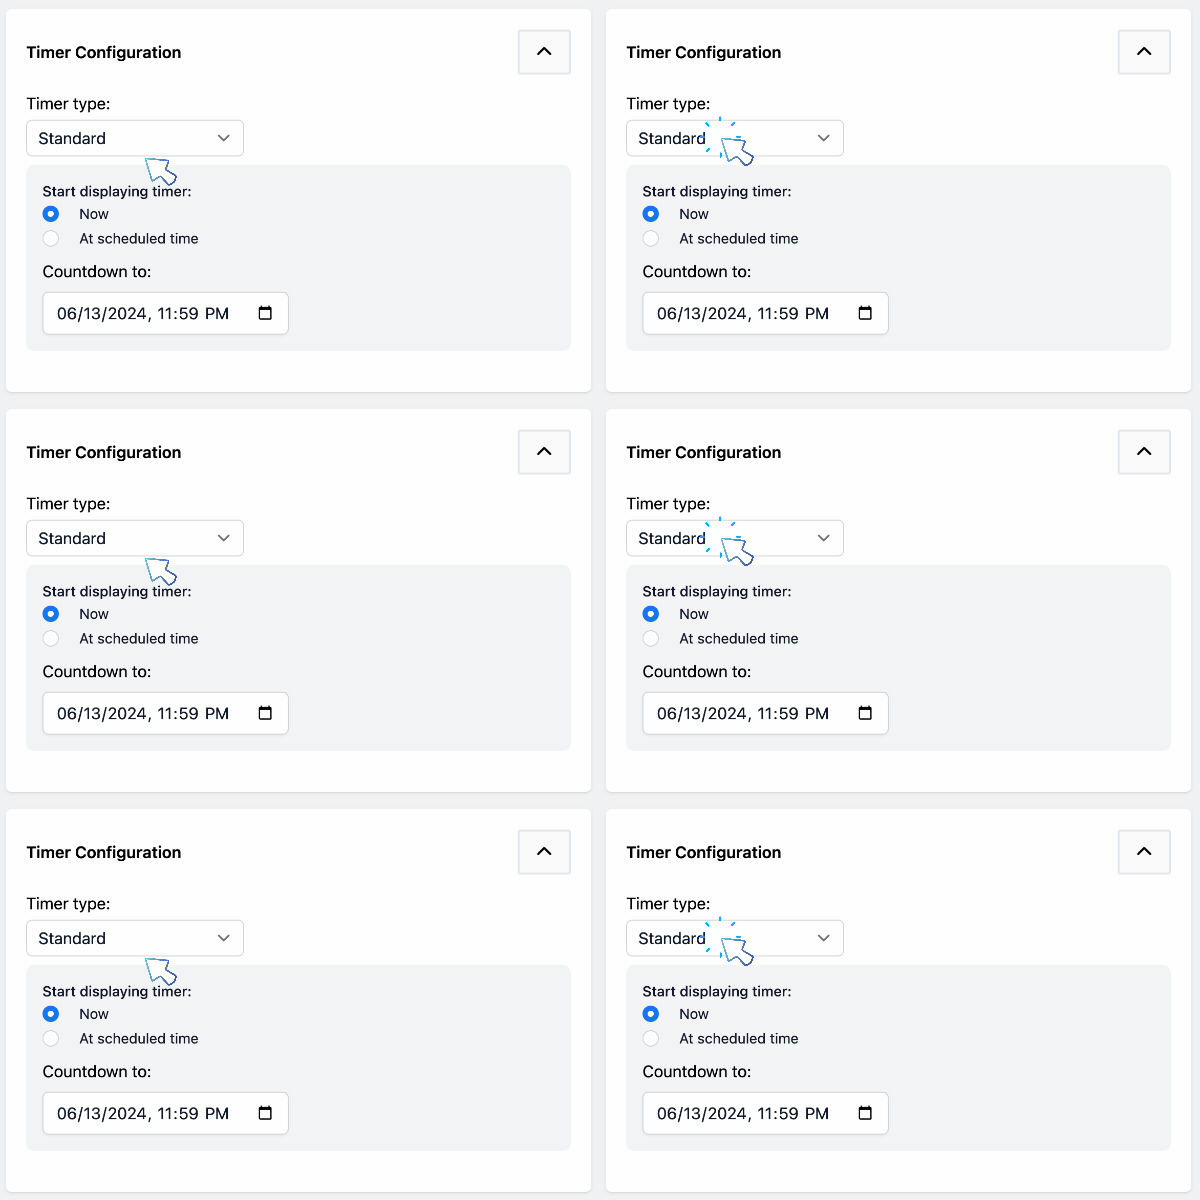
You have the option to start displaying the timer right away upon saving, or you can schedule it to begin at a specified time.
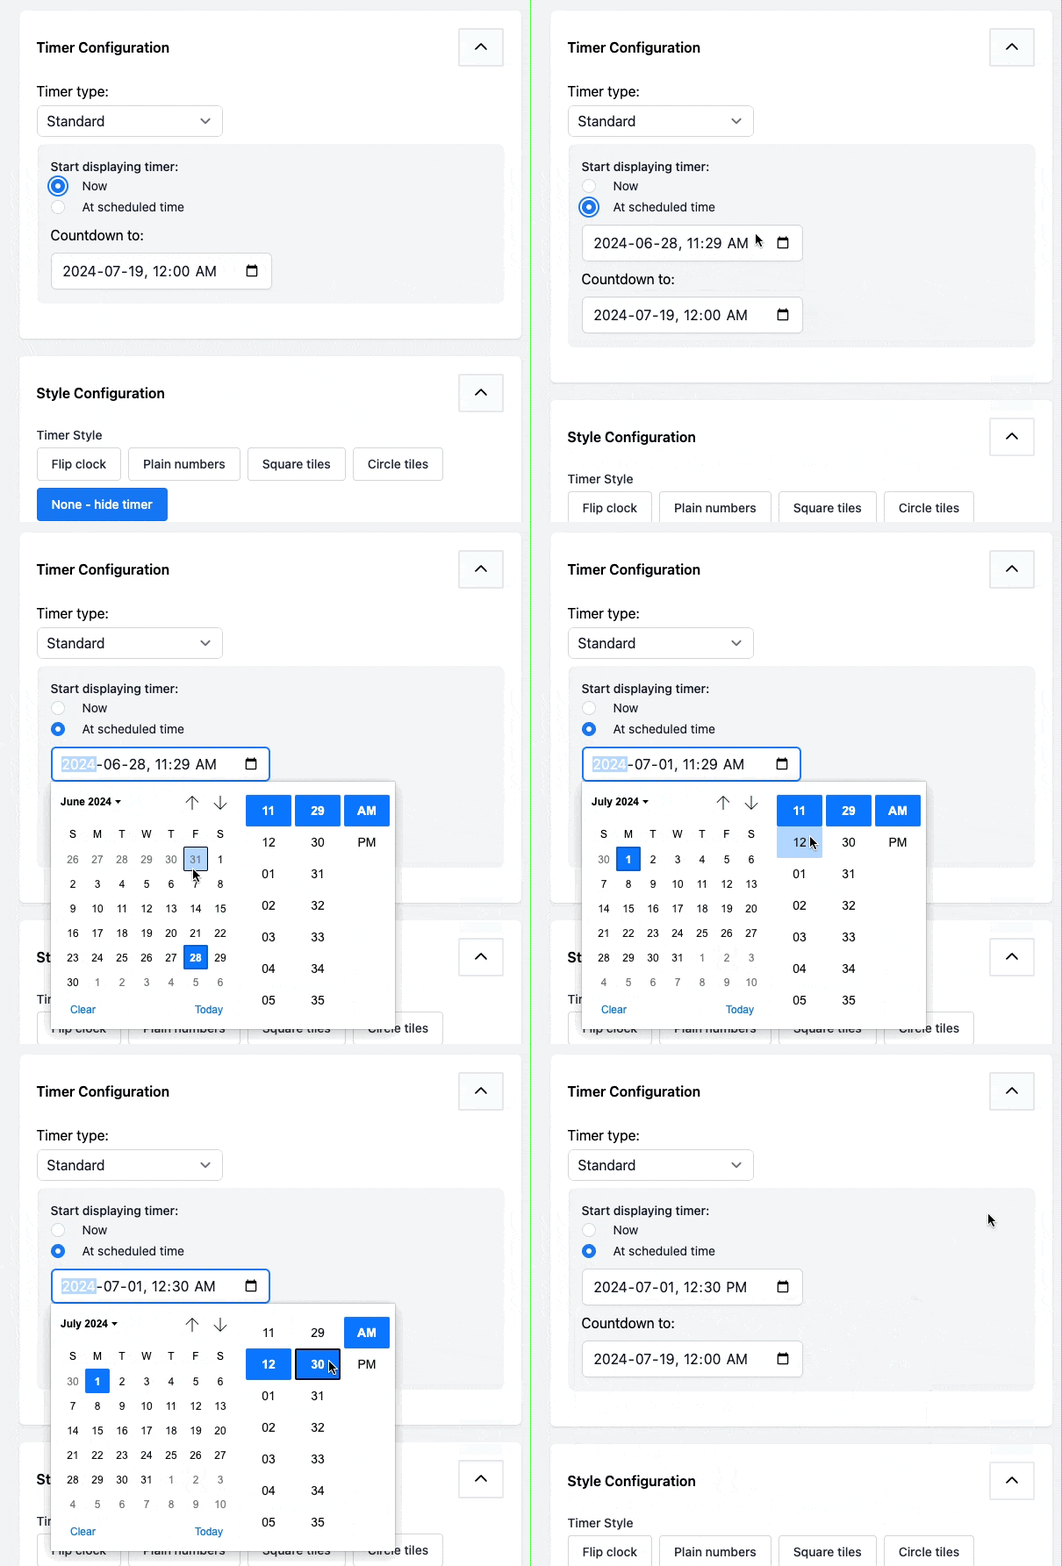
Next, set the time and date to which the timer is counting down.
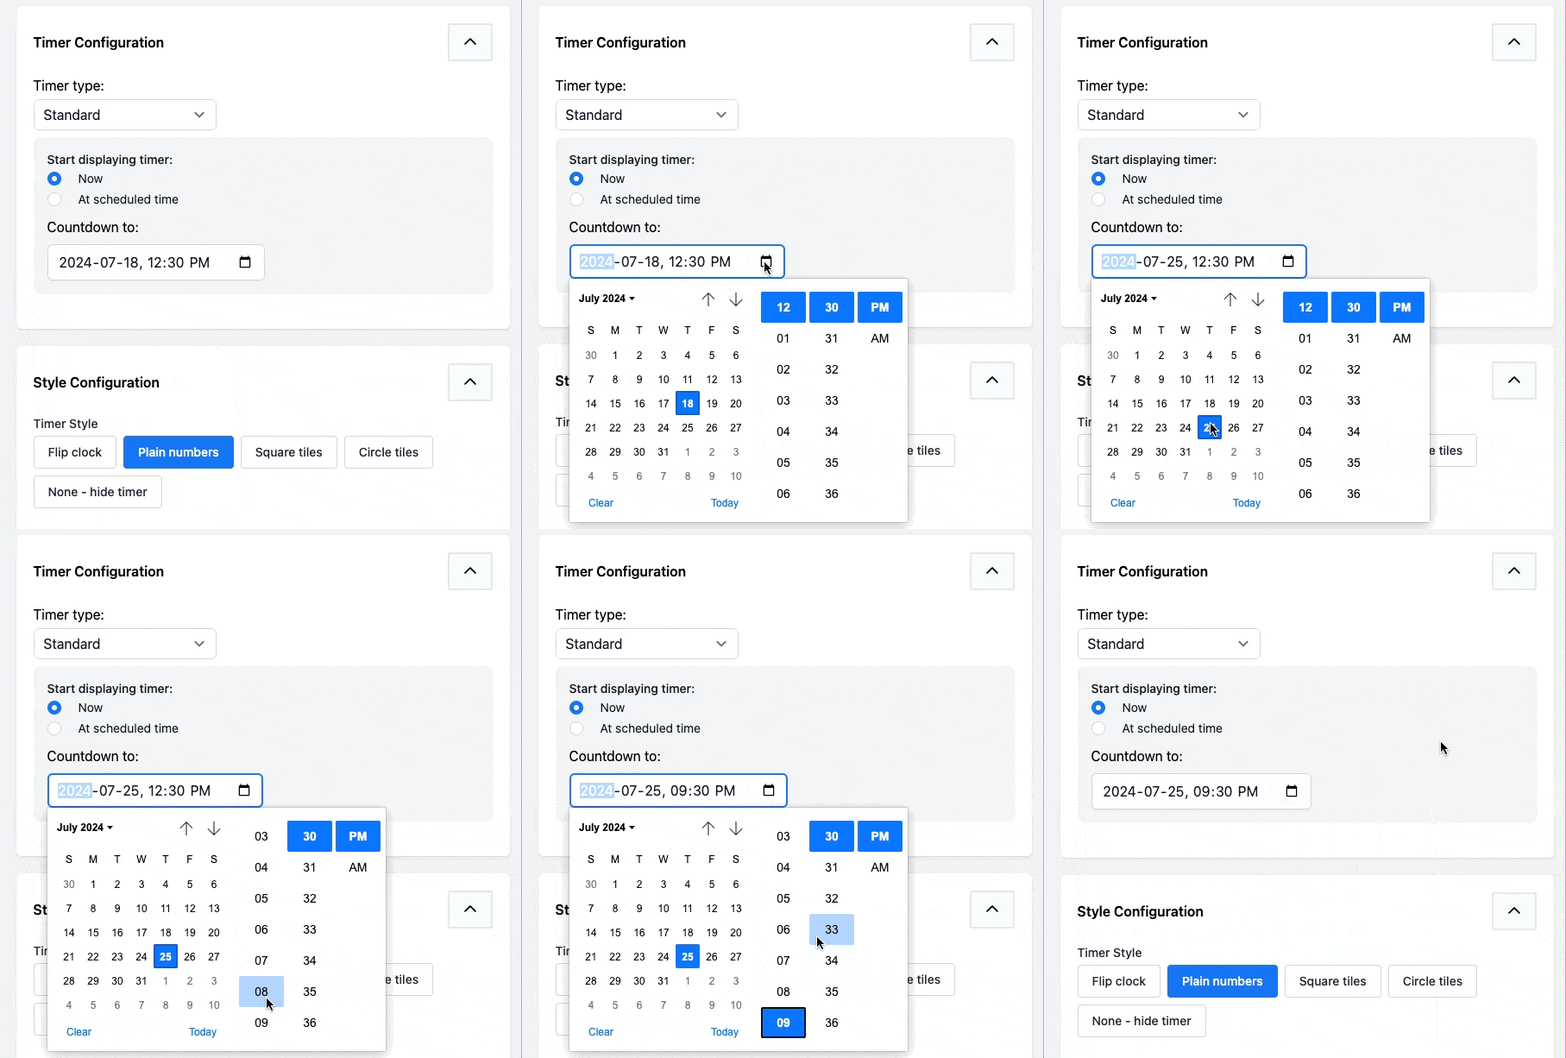
You’ll also see a Style Configuration section below the timer settings — see our Timer Styles guide for the full breakdown of each style option.
The Daily timer provides a way to set up a daily repeating timer. It can be useful if you’re promoting something like next-day shipping for orders placed before a cut-off time.
First, choose whether the timer will reflect your customer’s local time or your local time.
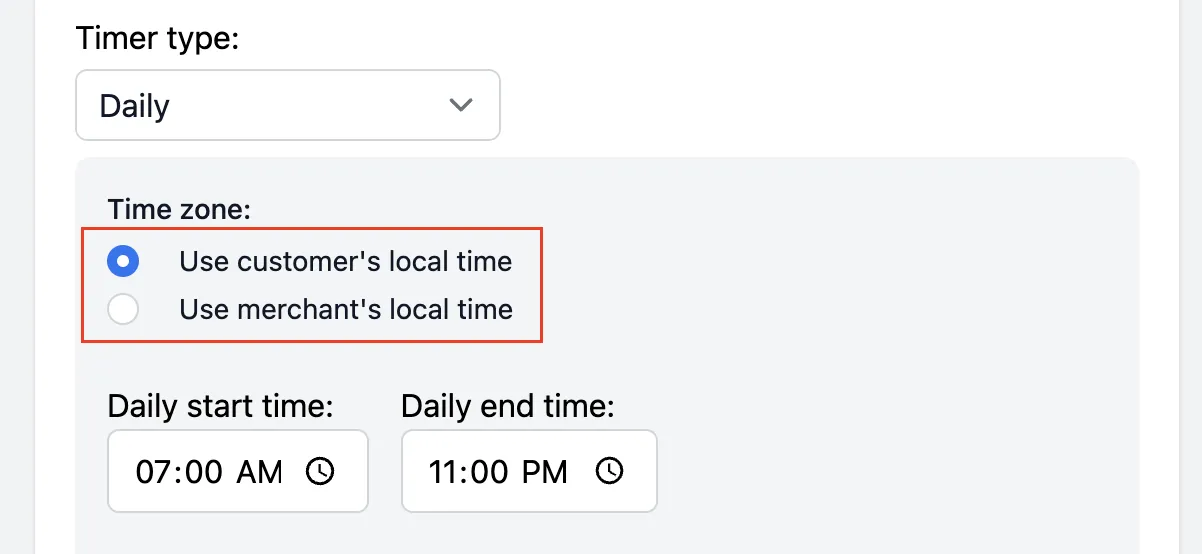
Next, set the start and end times of the timer (when will the timer begin displaying, and the time it will count down to).
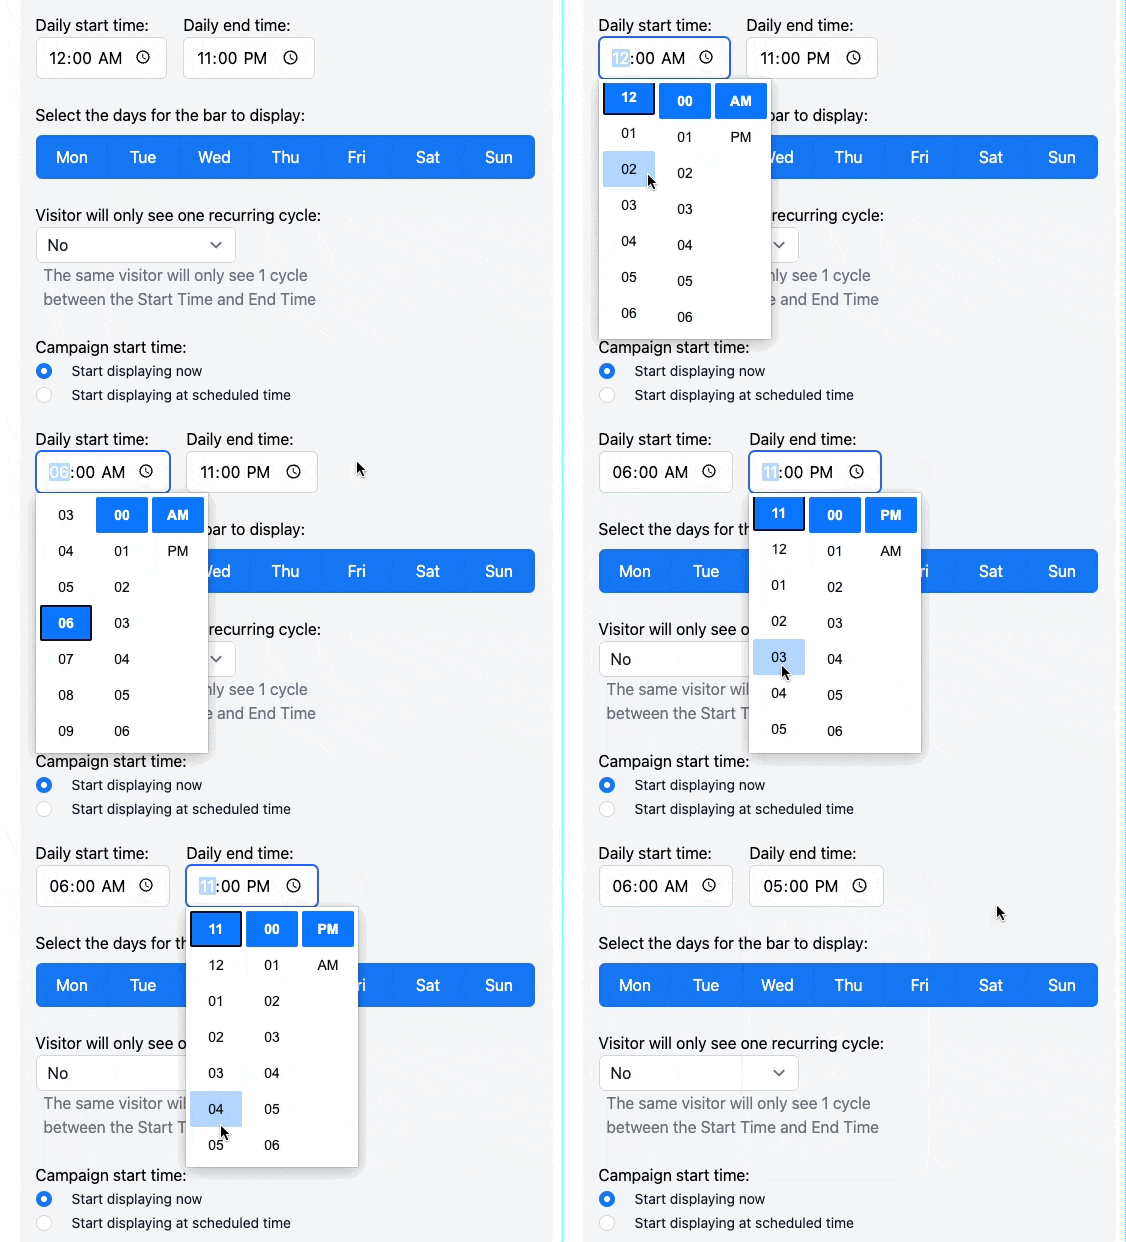
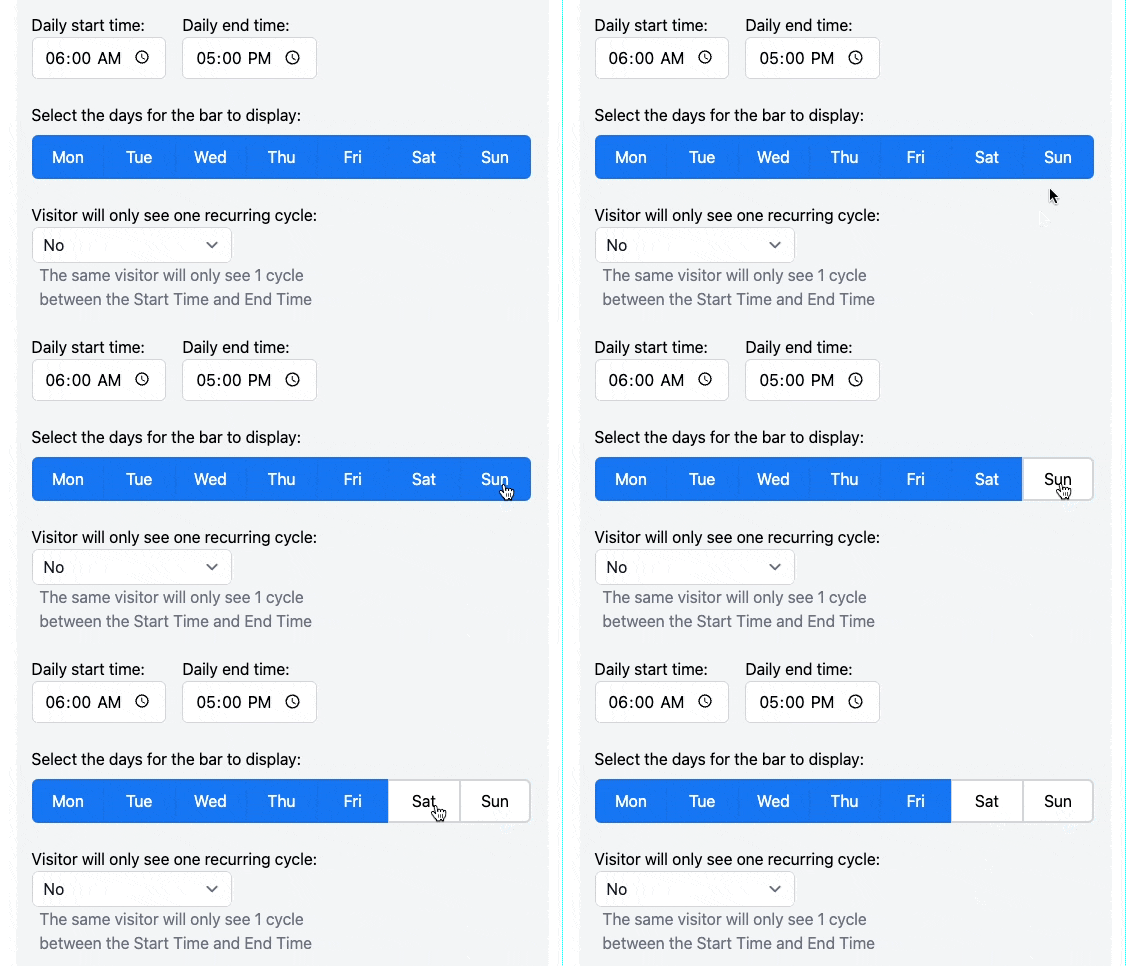
Now, select the days of the week that you’d like this timer to display. Blue indicates that the timer will be displayed on that day. White means the timer will not be displayed.
By default, the bar is set to display to customers every time they visit the store. However, you can set it so that each customer will only see the timer for one countdown cycle.
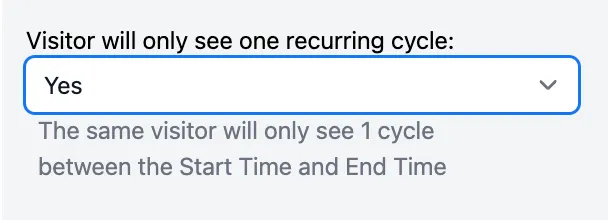
To ensure that all customers see the timer every time they visit, simply leave it in its default position of ‘No’.
Finally, set the campaign time. This is the time period during which the daily timer will be active. You have the option to make the timer active right away upon saving, or you can schedule it to begin at a specified time:
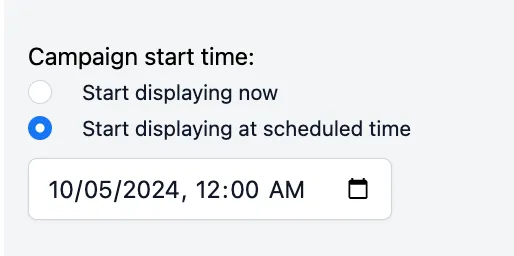
Similarly, for the end time, you can choose to keep the timer active until you manually pause it, or you can schedule it to stop displaying at a specified date and time:
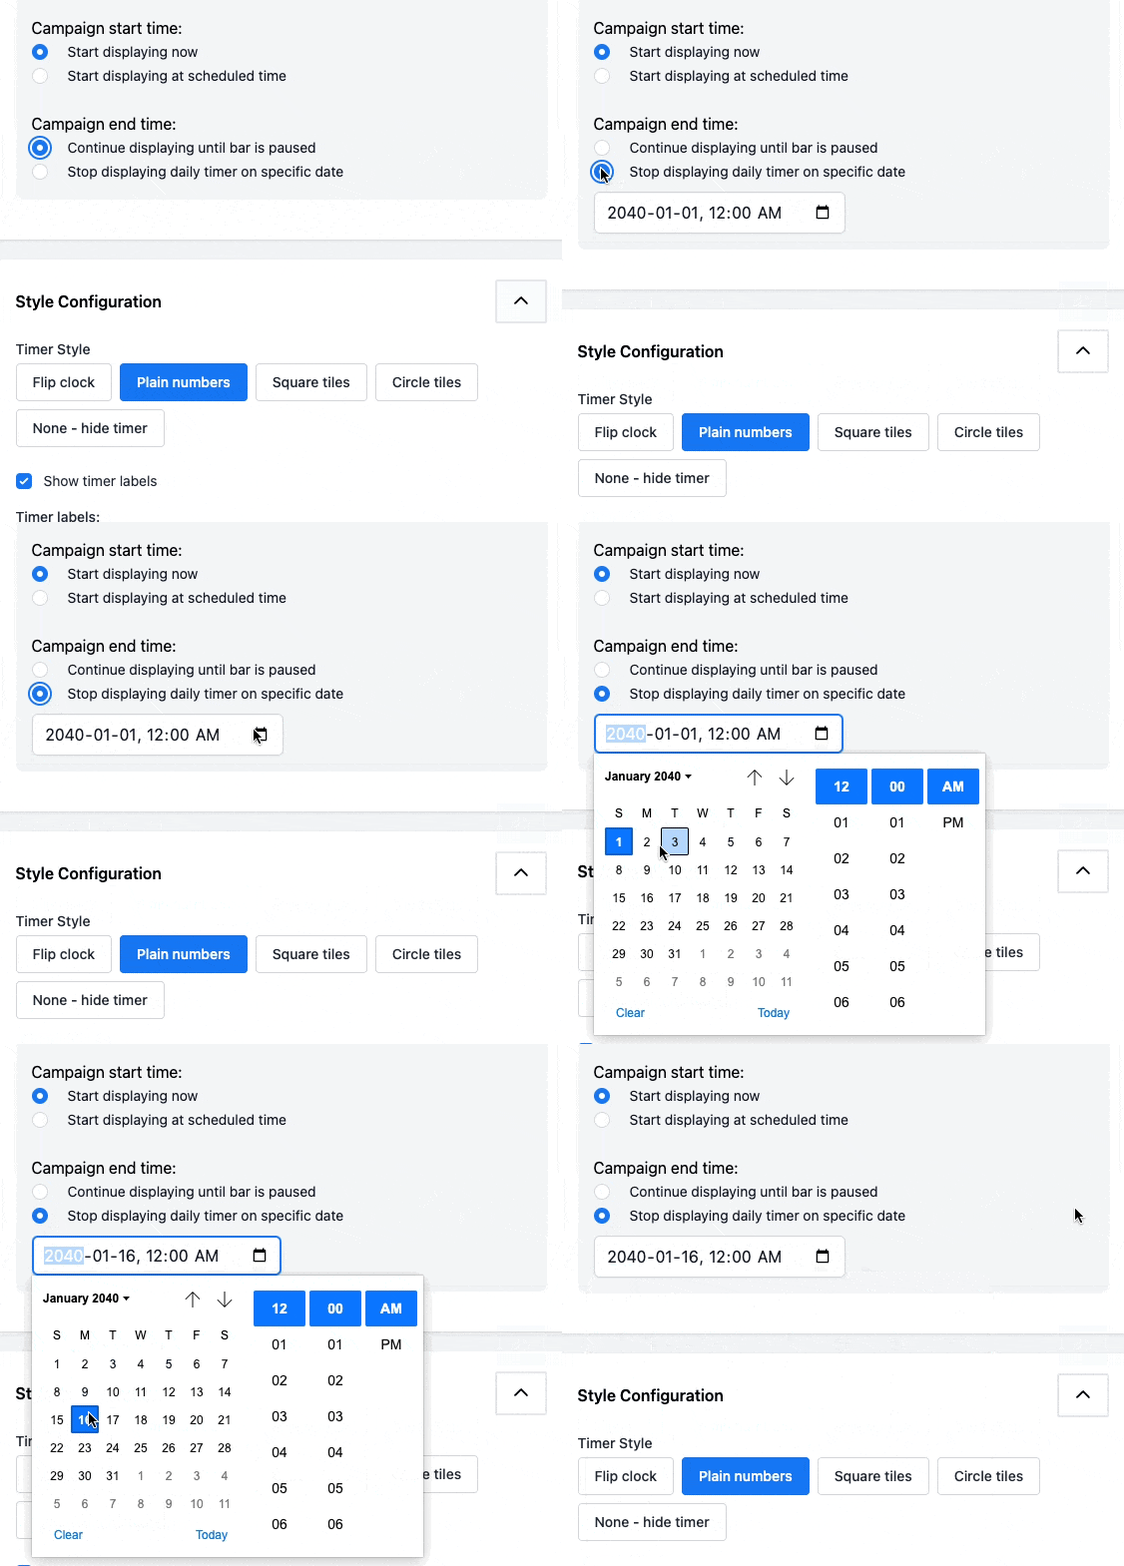
This timer allows you to run a timer, pause it for a specified length of time, and then repeat. This can be useful if you have, for example, recurring weekend sales. You could start the timer on Friday morning, run it for the weekend, pause it for the week, and then start over the next Friday morning.
To set it up, first, choose the campaign start time. In this example, I will start the campaign on Friday at 12 am. Since this will be a weekend sale, the timer will last until Sunday 11:59 pm, so I will put 72 hours in the countdown length. Then I would like the bar to be paused from Monday 12 am to Thursday 11:59 pm, so I will put 96 hours on the pause length.
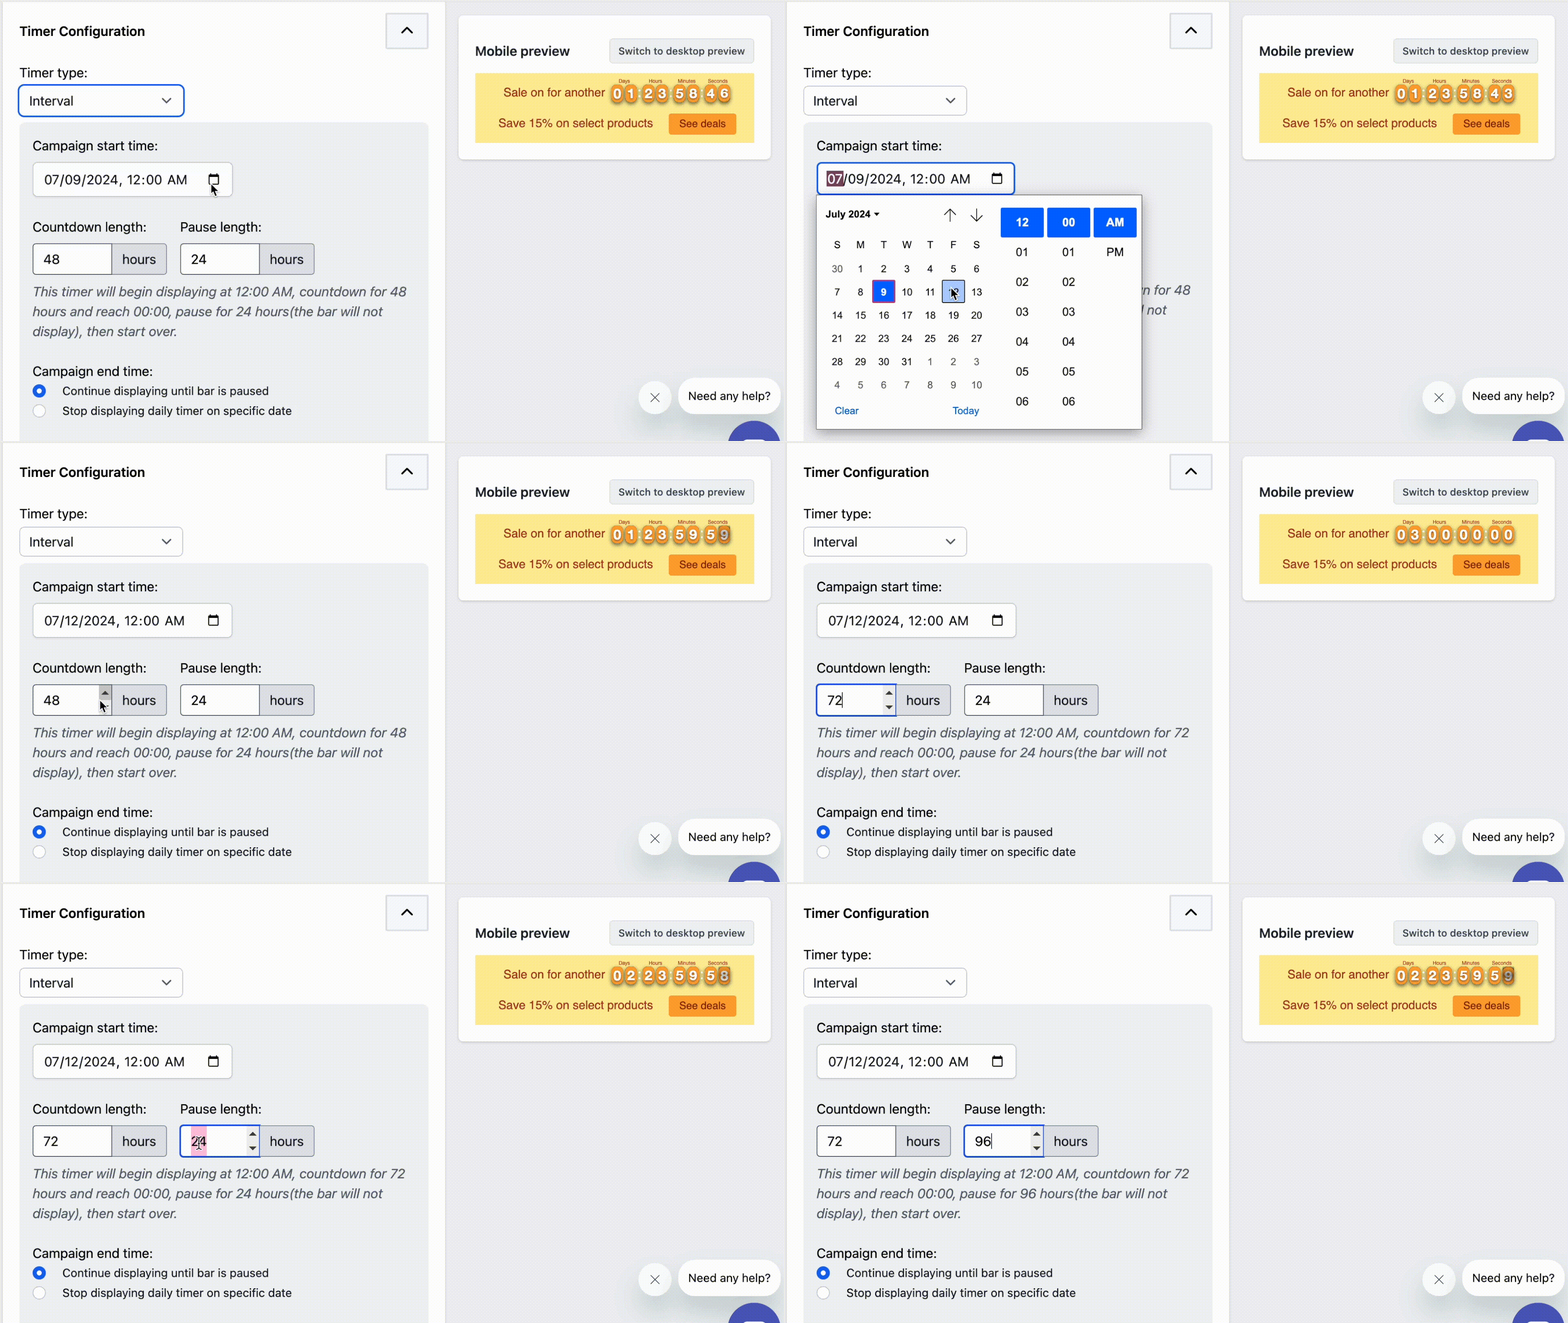
For the end time, you can choose to keep the timer active until you manually pause it, or you can schedule it to stop displaying at a specified date and time.
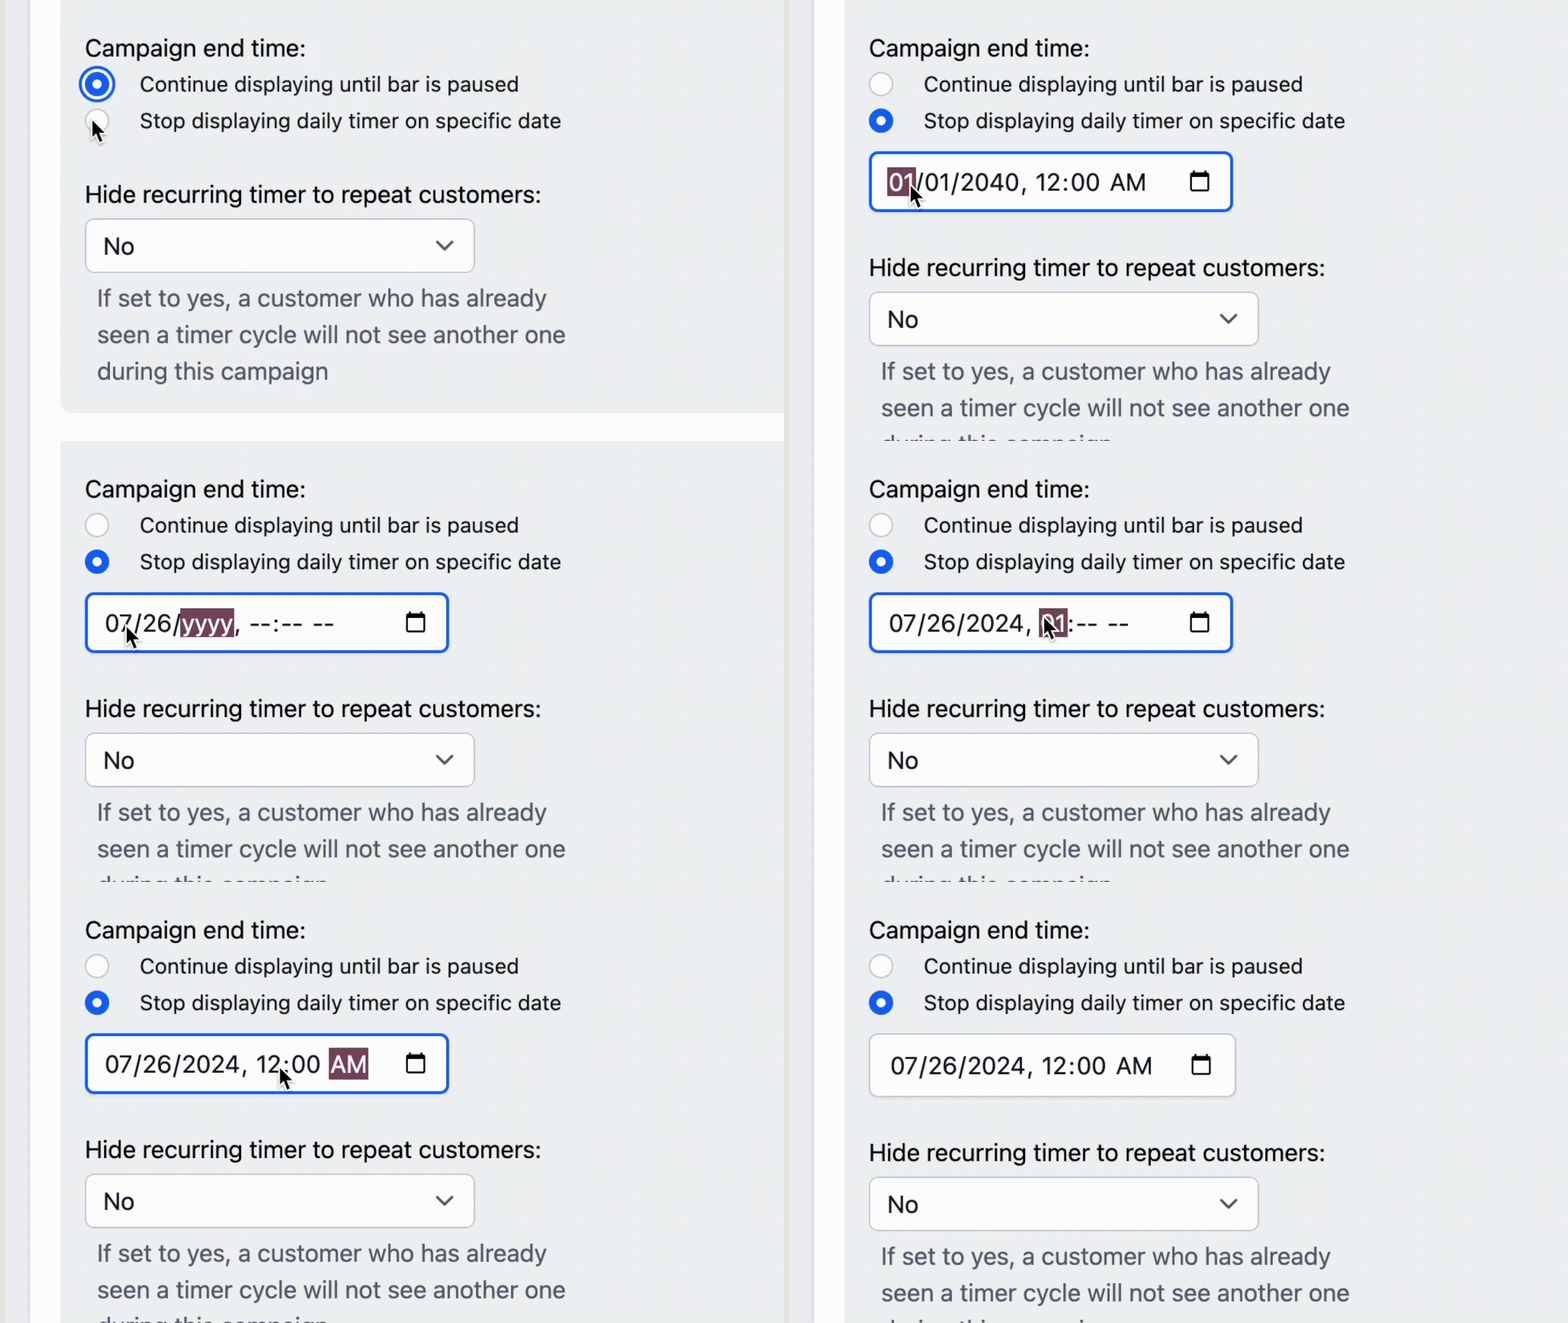
By default, the bar is set to display to customers every time they visit the store. But you can set it so that each customer will only see the timer for one countdown cycle:
With the Session timer, you can set a timer to begin displaying at a specific time when a customer visits the site. For example, if you would like each customer to see a timer with a duration of 90 minutes when they arrive at your store, the session timer is what you need.
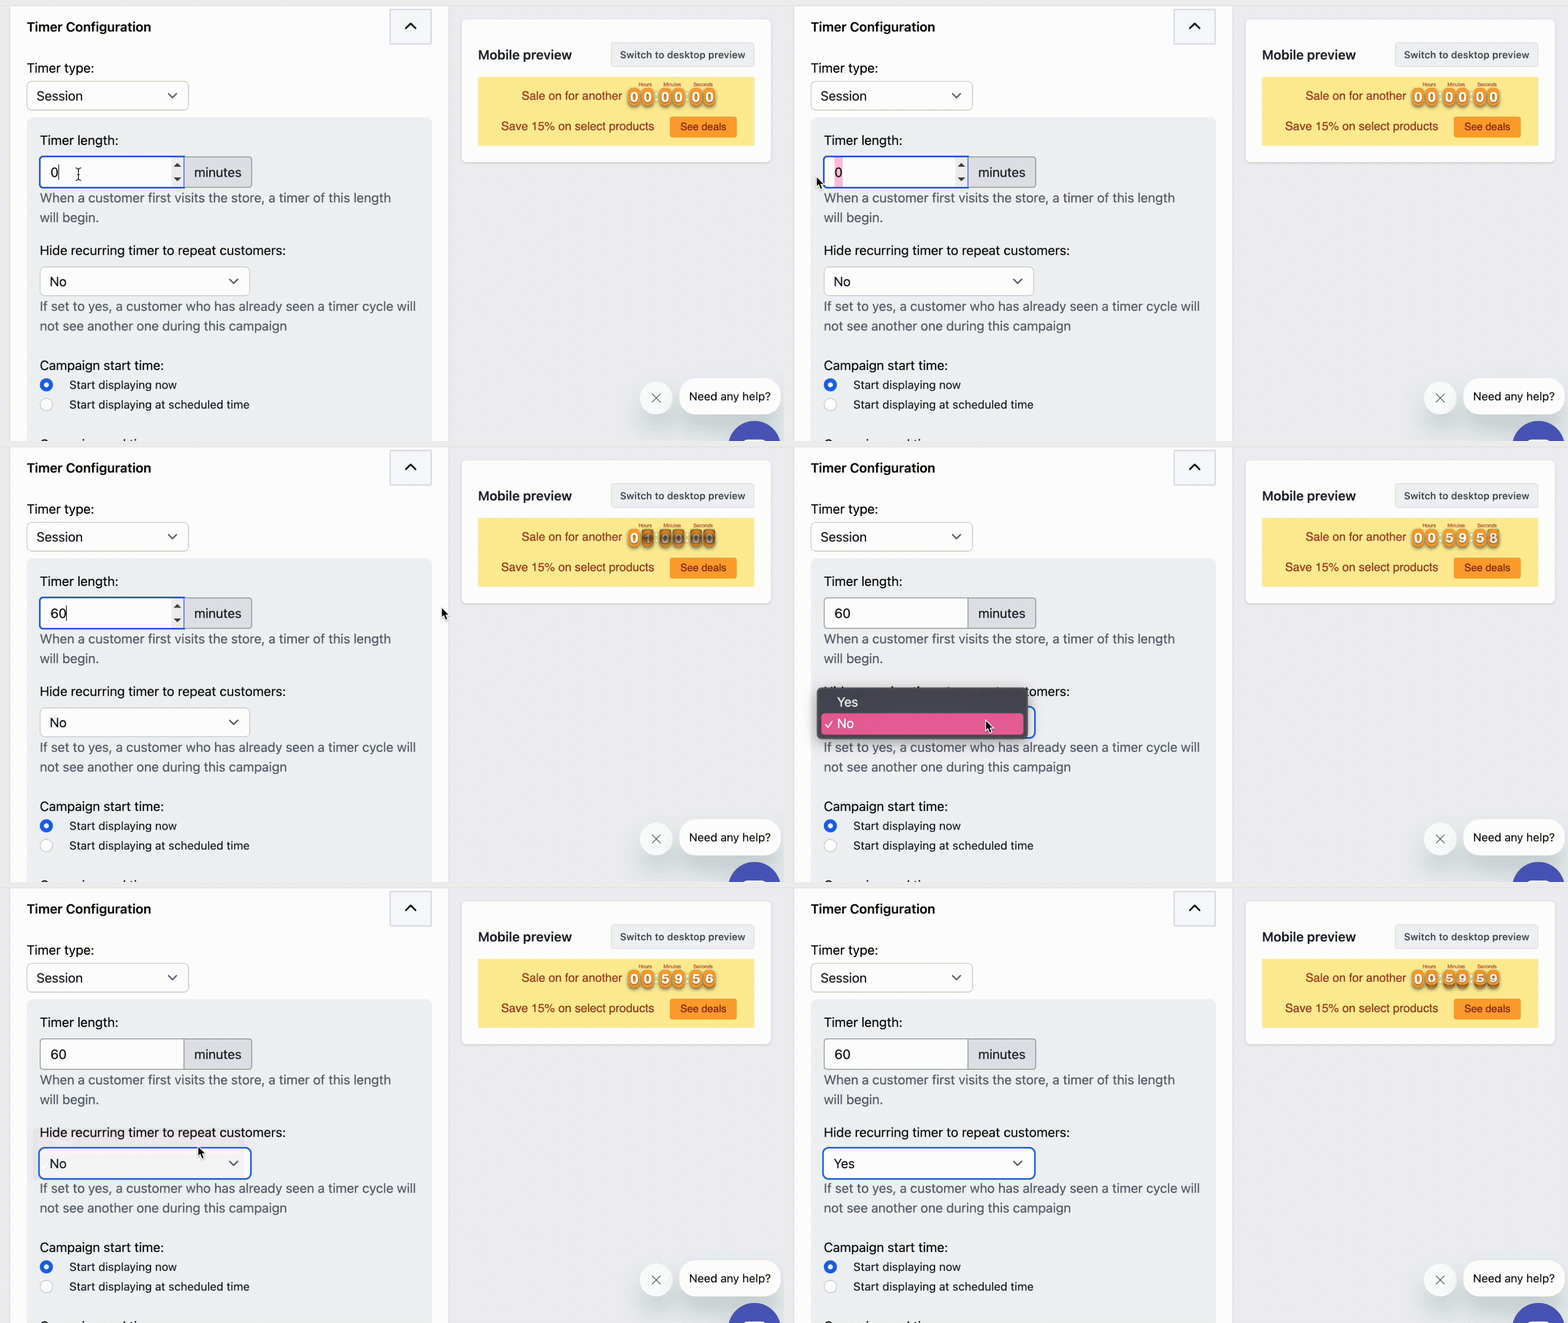
To begin, set the timer length (in minutes). This is the length of the timer that will start when a customer first visits your site.
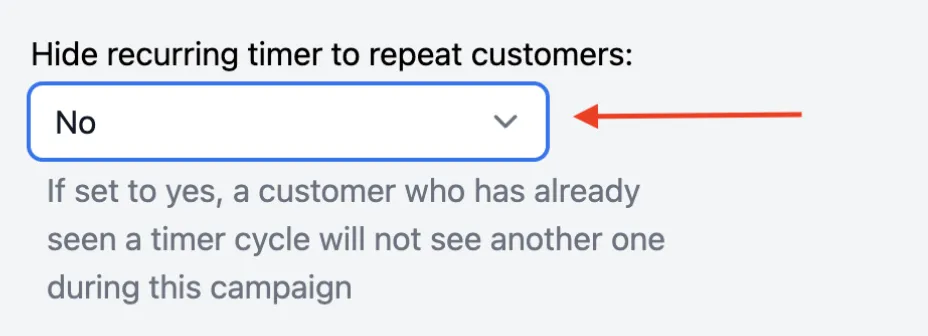
By default, the bar is set to display to customers every time they visit the store, but if you want your customers to see only one timer cycle throughout the entire campaign, set the Hide recurring timer to repeat customers to Yes.
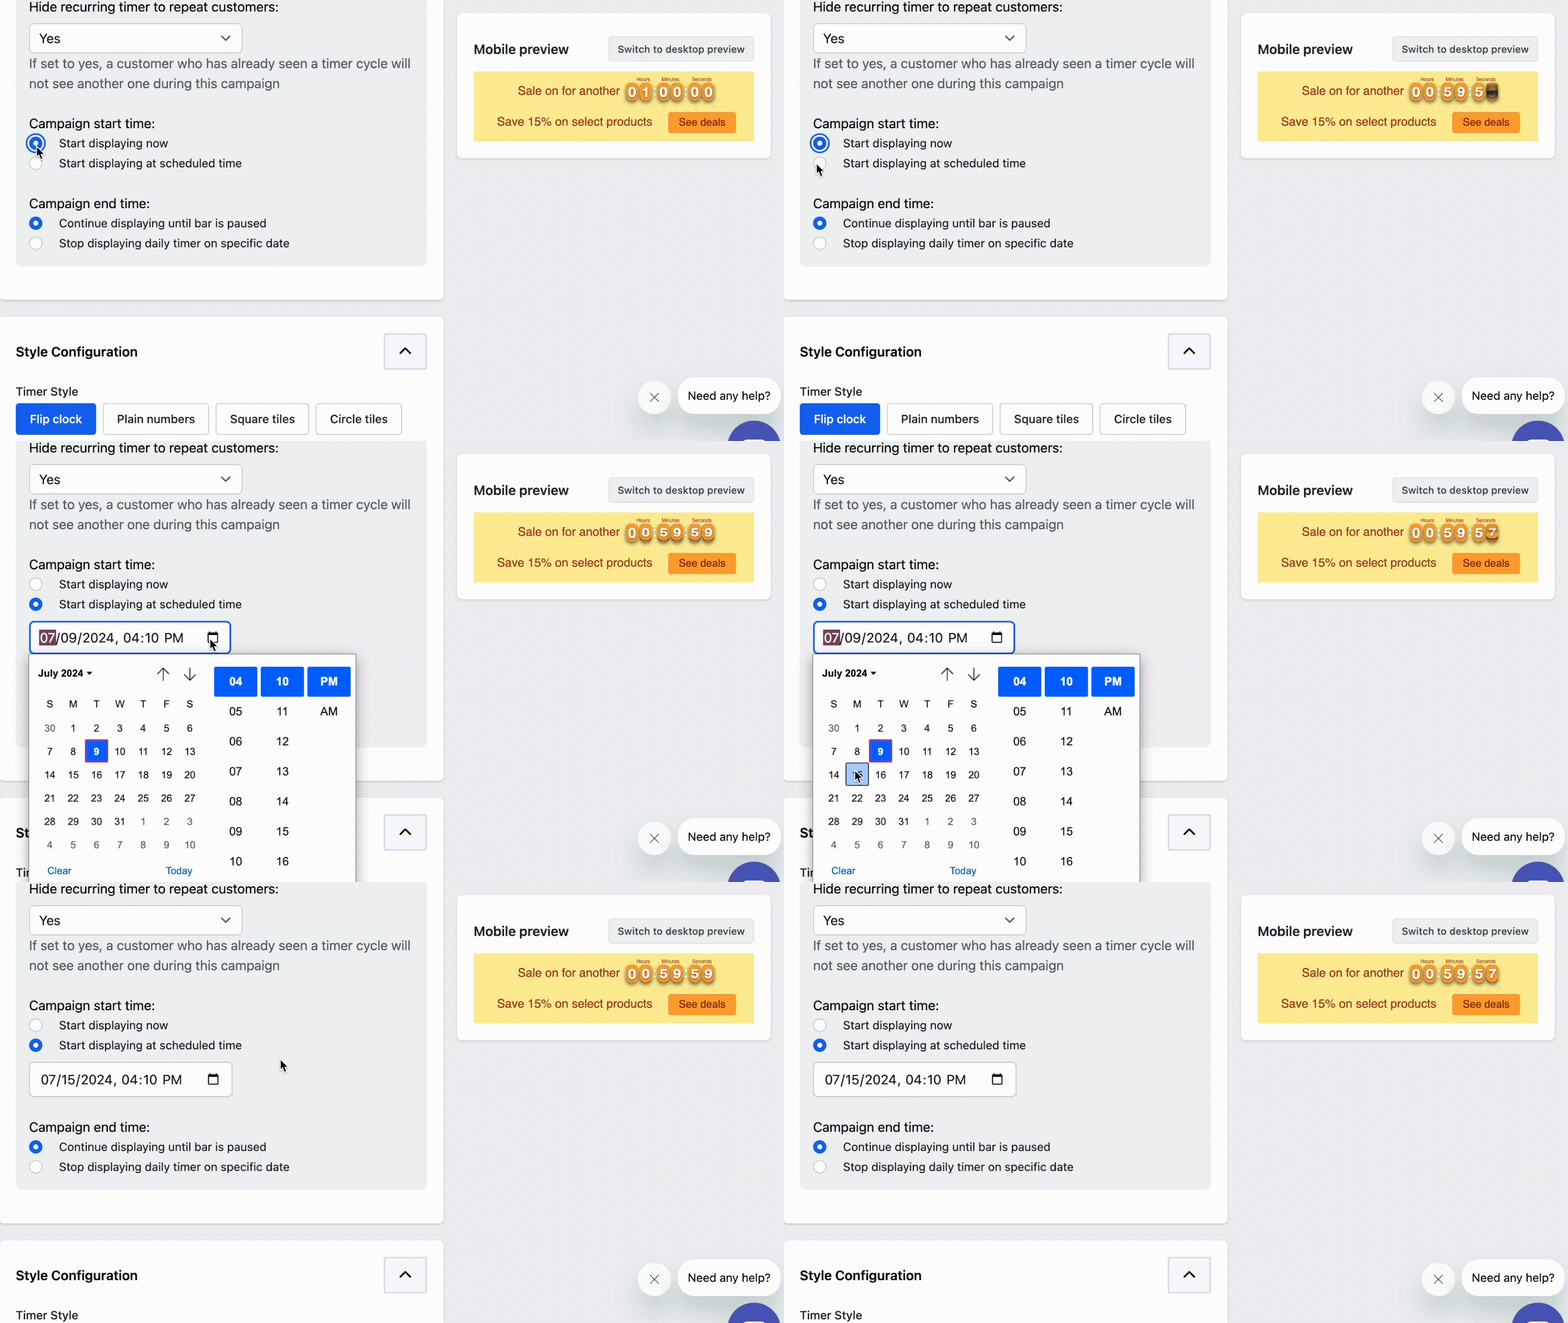
You can choose to start displaying the timer upon saving or at a scheduled time.
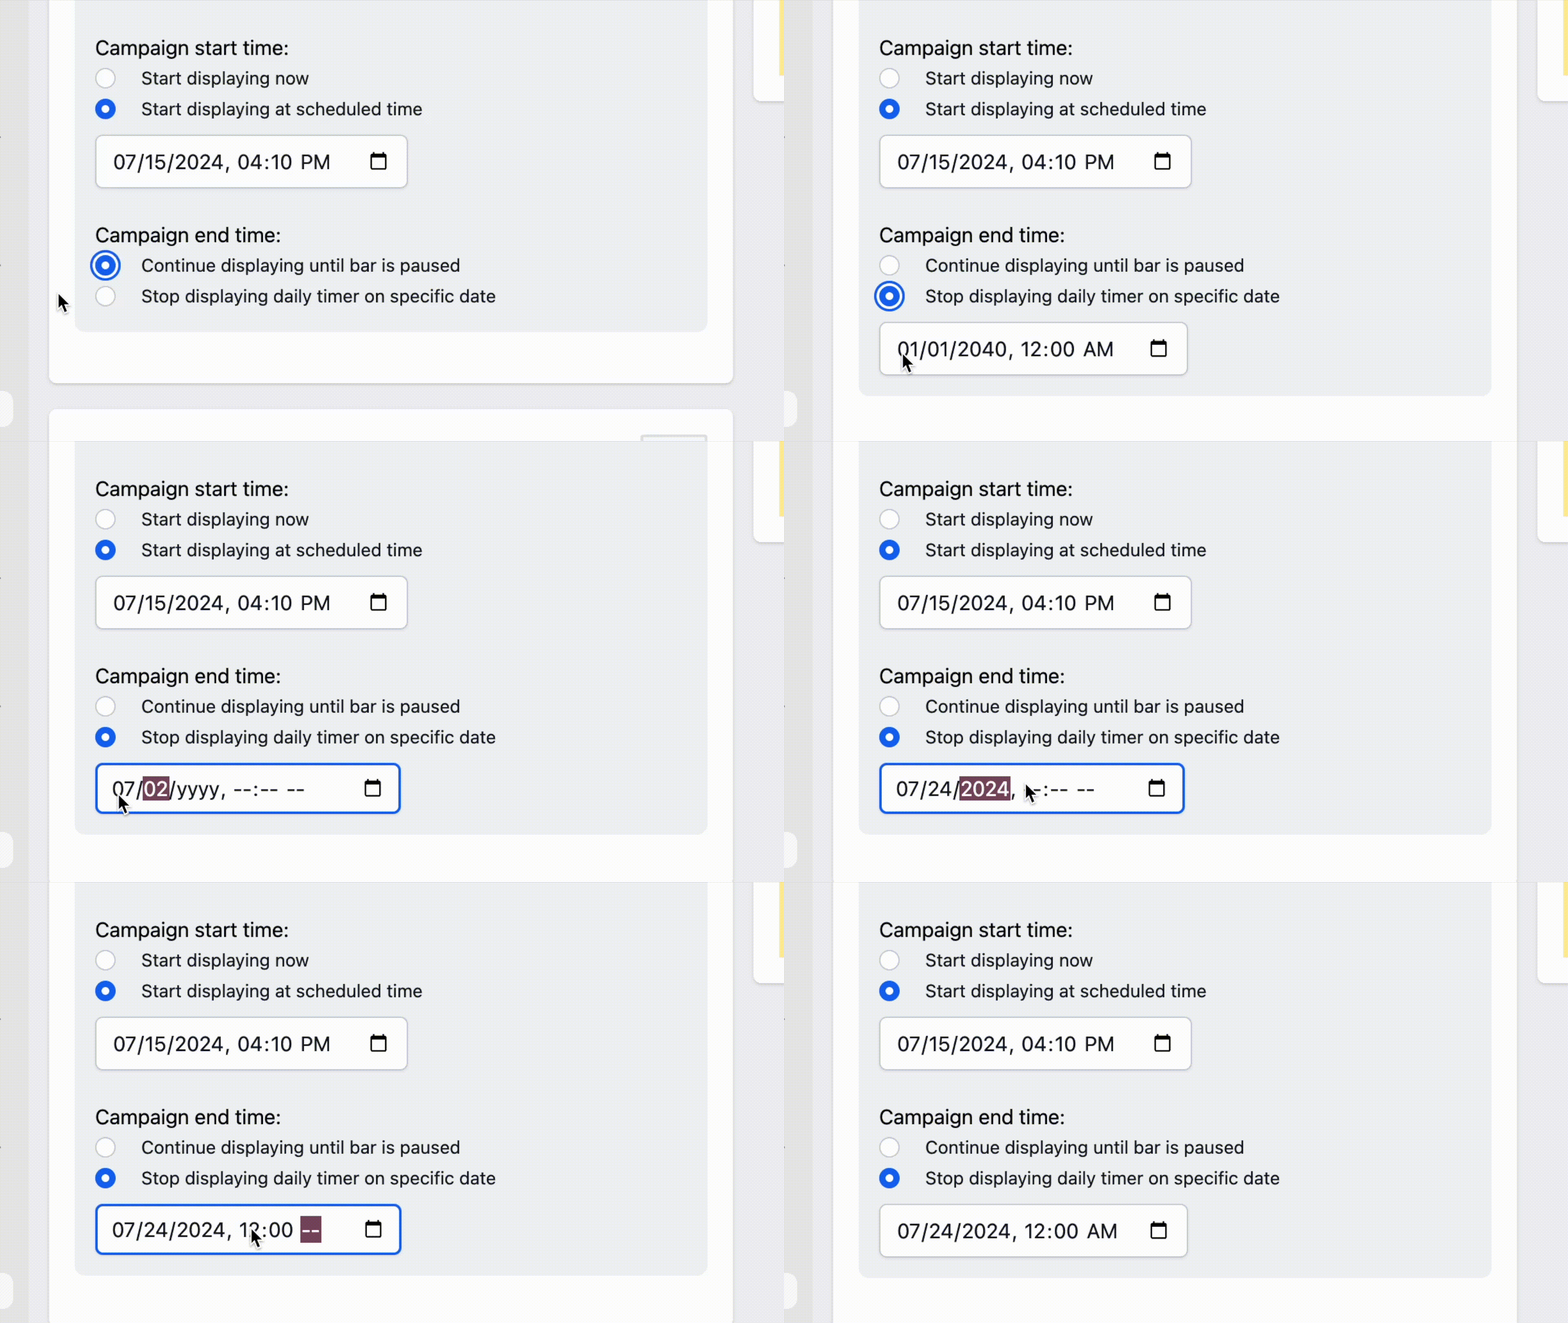
Campaign end time: You can choose to keep the timer active until you manually pause it, or you can schedule it to stop displaying at a specified date and time.
If you need any assistance or have questions about this feature, feel free to reach us at help@hextom.com.